Introduction
If you’re wondering how to add a checkbox in Teachable, you’re in the right place! Teachable offers a variety of features to enhance your online course experience, and adding checkboxes is one of the easiest ways to make your courses more interactive and functional. Whether you’re using them for consent forms, quizzes, or feedback, this simple feature can help improve engagement and streamline course processes. In this guide, we’ll walk you through everything you need to know to successfully add checkboxes to your Teachable courses.
Table of Contents
What is Teachable?
Before we dive into how to add a checkbox in Teachable, let’s take a quick look at what Teachable is and why it’s the platform of choice for many course creators.
Teachable is an all-in-one platform for creating and selling online courses. It provides course creators with tools for building course websites, designing lessons, managing students, and processing payments. One of its standout features is its ease of use, allowing instructors to focus more on content creation and less on technical setup.

Now, let’s get back to the main topic: adding checkboxes in Teachable.
Why Add a Checkbox in Teachable?
Adding checkboxes in Teachable can be used for various purposes, including:
Common Uses for Checkboxes in Teachable
- Consent Forms: Collecting consent for terms and conditions or other legal requirements.
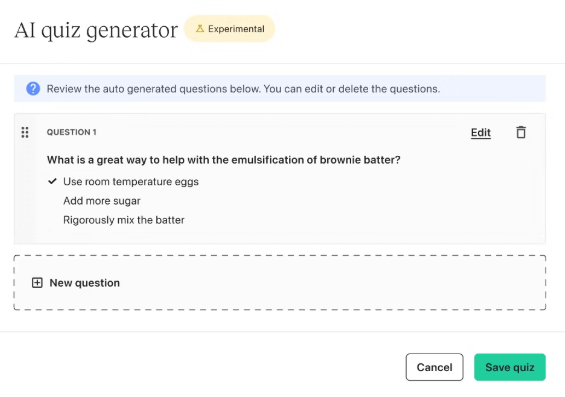
- Quizzes: Offering multiple-choice questions or simple feedback forms.
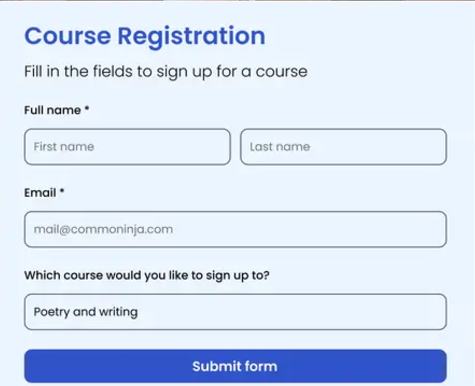
- Registration Forms: Asking students to confirm they meet prerequisites before enrolling.
- Surveys: Gathering feedback or preferences from students about the course.
Step 1: Understanding Teachable’s Built-in Features
Before learning how to add a checkbox in Teachable, it’s essential to understand how Teachable’s built-in features work. Teachable provides a Quiz Builder and Form Fields to help instructors collect information from students.
For those new to Teachable, here’s a quick overview of these features:
Using Teachable’s Quiz Builder
Teachable’s Quiz Builder allows you to add multiple-choice questions and collect responses. While it doesn’t directly offer a “checkbox” field, you can easily mimic this functionality with the Multiple Choice Question feature by allowing students to choose more than one option.
Using Form Fields
Teachable also allows you to create custom forms for your courses. You can add different types of form fields such as text fields, dropdown menus, and checkboxes, which we’ll go into more detail on in the next sections.
Step 2: Adding a Checkbox to Your Teachable Course
Now that you’re familiar with Teachable’s built-in features, let’s jump into the process of adding checkboxes to your course. You’ll primarily be working with Custom Forms for this.
Using Teachable’s Custom Forms for Checkboxes
To add a checkbox to your Teachable course, you’ll be creating a custom form. This process is simple and doesn’t require any coding knowledge.
Step-by-Step Process for Adding a Checkbox in Teachable
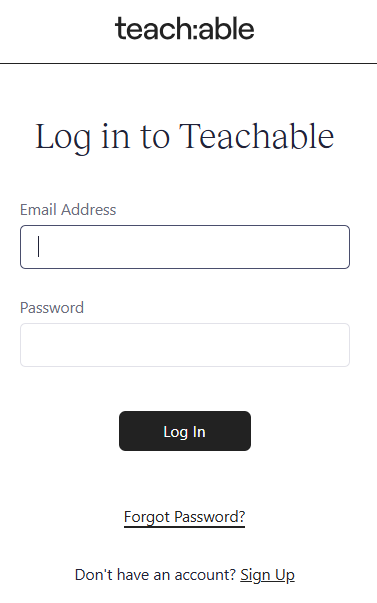
- Log in to Teachable: Go to your Teachable dashboard and log into your account.
- Navigate to the Course: From the dashboard, select the course where you want to add the checkbox.
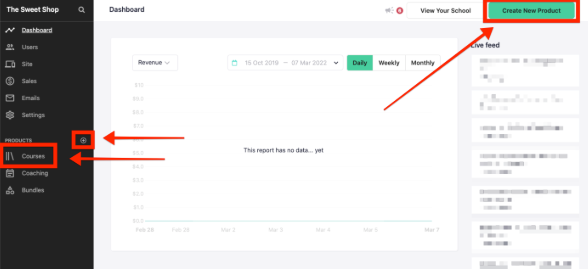
- Create a New Section or Add to an Existing One: You can add the checkbox form to a new section or an existing lesson within your course.
- Add a New Quiz or Form:
- In the course builder, click on the “Add Section” or “Add Content” button.
- Choose the Quiz or Custom Form option, depending on your needs.
- Choose Form Type: When you select Custom Form, you will be presented with different field types like Text, Dropdown, and Checkbox. Choose Checkbox.
- Customize the Checkbox: Customize your checkbox field with a label, such as “I agree to the terms and conditions” or “Select all that apply.”
- Save Your Form: Once you’ve added the checkbox and other necessary fields, make sure to save your form.
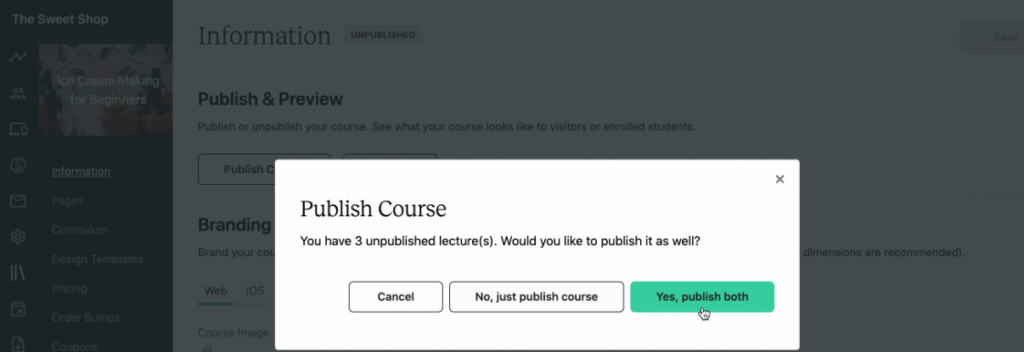
- Publish the Course: After adding the checkbox, publish the course or lesson to make it live for your students.
Step 3: Advanced Options for Customizing Your Checkbox in Teachable
While the basic checkbox functionality is easy to set up, you might want to explore advanced features for a more personalized experience.
Adding Conditional Logic to Your Checkbox
Teachable allows you to set conditional logic for your forms, which can be useful if you want to show or hide other form fields based on the user’s selections.
For example, you can create a form where students are required to agree to the course terms and conditions before proceeding to the next section. If they don’t check the box, they can’t submit the form.
How to Set Up Conditional Logic
- After adding the checkbox, click on the Settings button.
- Under the Logic section, select Conditional Logic.
- Choose the conditions for the checkbox, such as “If checkbox is selected, show the next field.”
Using HTML to Style Your Checkbox
If you want to further customize the look of your checkbox (e.g., change its color, size, or position), you can use custom HTML in your form.
To do this:
- Select the Custom HTML block in the form builder.
- Add your desired HTML code to style the checkbox.
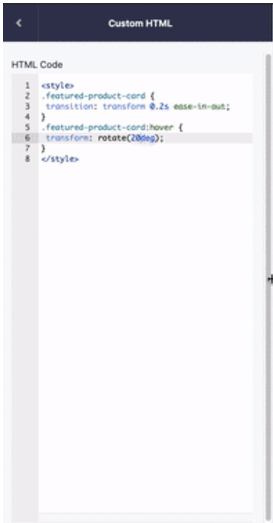
This feature is useful for instructors who have some knowledge of web design and want to give their course forms a more branded or personalized appearance.
Step 4: Testing and Troubleshooting
After adding checkboxes to your course, it’s essential to test the form to ensure it works as expected. Here’s how you can do that:
Preview Your Form
Teachable allows you to preview your form before it goes live. To do this:
- Click on the Preview button in the course builder to see how the checkbox will look and function from a student’s perspective.
Common Issues and Solutions
- Checkbox Not Appearing: Ensure that you’ve saved the form and that it’s correctly added to the course.
- Conditional Logic Not Working: Double-check the logic conditions to ensure they are set correctly. Sometimes, a small mistake in logic settings can prevent it from functioning properly.
- Checkbox Not Responding: Test the form in different browsers and clear your cache to ensure it’s working correctly.
Step 5: Best Practices for Using Checkboxes in Teachable
Adding checkboxes to your Teachable course can enhance user engagement and provide essential functionality, but it’s crucial to use them thoughtfully. Here are some best practices to keep in mind:
Keep It Simple
Only ask for information or consent that is absolutely necessary. Overloading students with too many forms or checkboxes can make the user experience feel cumbersome.
Be Clear with Instructions
Make sure your instructions for the checkboxes are clear. For example, if you’re using checkboxes to collect consent, clearly state what the user is agreeing to when they check the box.
Ensure Accessibility
Check that your checkboxes are easily accessible, especially for students with disabilities. Ensure that they’re large enough to click and that the form is readable with screen readers.
Conclusion: Adding Checkboxes in Teachable to Improve Engagement
In conclusion, adding checkboxes to your Teachable courses is a simple yet effective way to improve engagement and streamline various processes such as consent collection, quizzes, and feedback forms. With Teachable’s customizable forms and built-in features, you can easily integrate checkboxes into your course content without the need for complex coding.
Whether you’re creating a course with quizzes, registration forms, or legal consent requirements, this feature allows you to engage students and collect the necessary information with ease. By following the steps outlined in this guide, you’ll be able to enhance your course functionality, improve the user experience, and maintain a professional appearance.
For more information on making the most of Teachable’s features, check out our Teachable tutorial for course creators.
Happy teaching!
Frequently Asked Questions (FAQs)
Can I use checkboxes for quizzes in Teachable?
Yes, you can use checkboxes in quizzes by creating multiple-choice questions where students can select more than one option. While not a traditional checkbox field, this can mimic checkbox functionality.
Can I add custom styling to the checkboxes?
Yes, you can add custom HTML to style checkboxes in Teachable, but it requires some knowledge of HTML and CSS.
Are checkboxes available in all Teachable plans?
Checkboxes and custom forms are available on the Professional and Business plans. Basic plans may have limited access to custom form fields.
By implementing checkboxes in Teachable, you can enhance the interactivity and functionality of your course content, all while maintaining a smooth user experience.


