Introduction
Learn how to change the mailed-by ActiveCampaign with our 2024 step-by-step guide. Enhance your email branding and improve deliverability by updating your settings. Follow our straightforward instructions to optimize your email marketing efforts. If you’re looking to change the mailed-by in ActiveCampaign to better align with your brand and boost email deliverability, you’re in the right place. In 2024, optimizing your email settings is more essential than ever to ensure your messages land in your recipients’ inboxes instead of their spam folders. This guide will walk you through the simple yet effective steps to update the “mailed-by” in ActiveCampaign, helping you strengthen your email marketing strategy and build greater brand credibility.
Table of Contents
What is the “Mailed-By” Field?
The “mailed-by” field in an email header indicates the domain from which the email was sent. This field is crucial because it helps establish trust with email recipients and can impact deliverability. By default, ActiveCampaign uses its own domain for this field, but changing it to your own domain can enhance your brand’s credibility and improve your email deliverability.
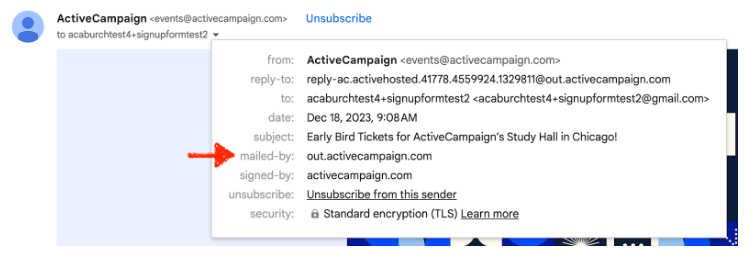
Why Change the Mailed-By?
Brand Credibility
Using your own domain instead of ActiveCampaign’s helps reinforce your brand identity.
Improved Deliverability
Emails sent from your own domain can sometimes achieve better inbox placement compared to those sent from a generic domain.
Professional Appearance
A custom domain gives your emails a more professional appearance, which can increase open rates and engagement.

Step-by-Step Guide how to Change the Mailed-By ActiveCampaign
1. Access Your ActiveCampaign Account
Log in to your ActiveCampaign account. You’ll need administrative access to make changes to your email settings.

2. Navigate to the Sending Domain Settings
- Go to ‘Settings’: Click on the gear icon in the bottom left corner of your dashboard to access the settings menu.
- Select ‘Senders & Domains’: In the settings menu, click on ‘Senders & Domains.’
3. Add Your Domain
- Click ‘Add Domain’: You’ll see an option to add a new domain. Click on this to start the process.
- Enter Your Domain: Input the domain you want to use for the “mailed-by” field. Make sure it’s a domain you own and have control over.
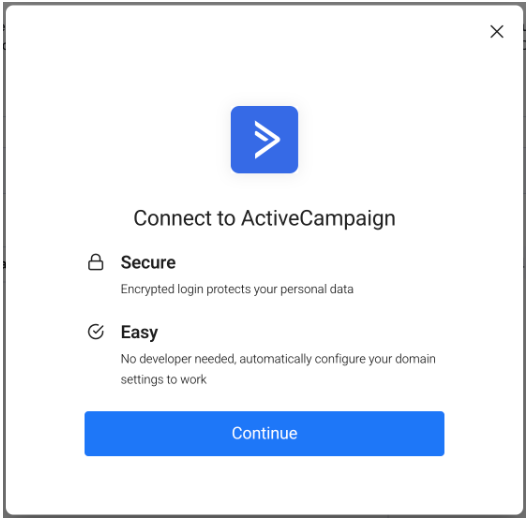
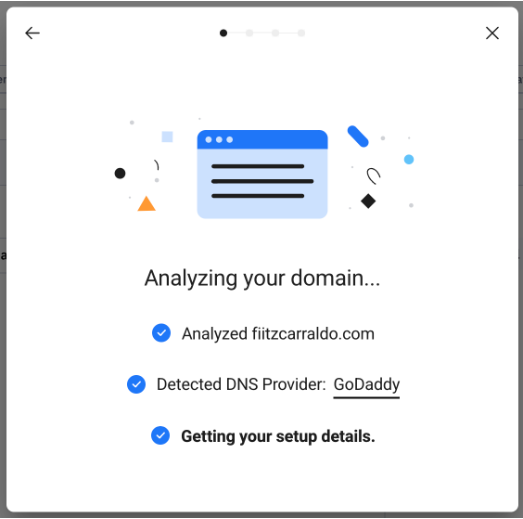
4. Verify Your Domain
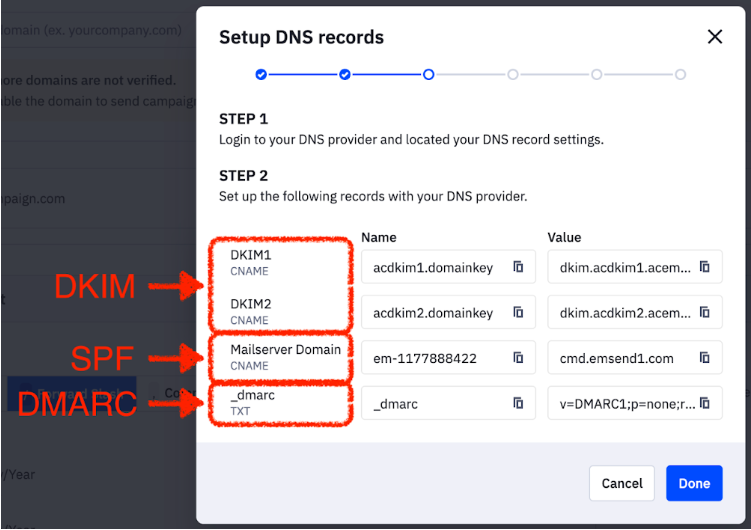
- DNS Records: ActiveCampaign will provide you with DNS records that need to be added to your domain’s DNS settings. These typically include TXT and CNAME records.
- Add Records to DNS: Log in to your domain registrar’s dashboard (e.g., GoDaddy, Namecheap) and navigate to the DNS management section. Add the records provided by ActiveCampaign.
- Verify the Domain: Once you’ve added the DNS records, return to ActiveCampaign and click on ‘Verify’ to confirm that the records are correctly set up.
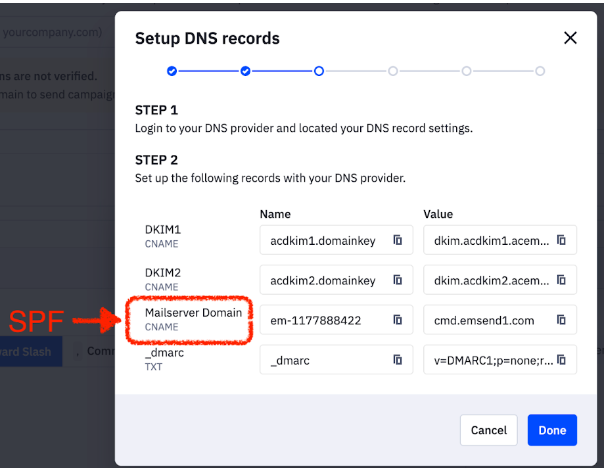
5. Set Up SPF and DKIM Records
- SPF Record: Add the SPF record provided by ActiveCampaign to your domain’s DNS settings. This helps ensure that emails sent from ActiveCampaign are not marked as spam.
- DKIM Record: Similarly, add the DKIM record to authenticate your emails and further improve deliverability.
6. Update Your Sending Domain
- Select Your Domain: Once your domain is verified and the records are correctly set up, go back to the ‘Senders & Domains’ section.
- Choose Your Domain: Set the newly added domain as the default sending domain.
7. Test Your Emails
- Send Test Emails: Before fully committing, send a few test emails to ensure everything is working correctly.
- Check the Mailed-By Field: Verify that the “mailed-by” field in the email header now shows your custom domain.
Troubleshooting Common Issues
- Domain Not Verified: Ensure all DNS records are correctly added and propagated. It may take some time for changes to take effect.
- Emails Marked as Spam: Double-check your SPF and DKIM records and ensure they are correctly configured.
Conclusion
Changing the “mailed-by” in ActiveCampaign is a strategic move to enhance your brand’s credibility and improve email deliverability. By following these steps—adding and verifying your domain, updating SPF and DKIM records, and testing your setup—you can ensure that your emails reflect your brand professionally and reach your audience more effectively. For any issues or further assistance, ActiveCampaign’s support team is available to help. Start implementing these changes today to elevate your email marketing efforts and boost your campaign success.


